

|
|
|

|
Peugeot 407 Console Trim painting |
| • Homepage » PEUGEOT MODELS (FAULTS AND SOLUTIONS) » 407 | |
| 08.05.2020 21:19 | # 1 |
 iso0625 iso0625 |
|
|
There are a few tricks as far as I have experienced the painting process. First, the surface must be absolutely clean, feathers, dust, etc. This is very important. Secondly, apply the paint thinly and 2-3 layers is enough. Do not stay in one go. Let it dry on each floor. Thirdly, 2 coats of varnish is enough, you don't need to throw it as thin as the paint, but don't squeeze closely. I found a very nice solution for Peeled glass buttons (I speak for others except for the driver's side). After removing the glass buttons from the gray plastic, holding the two nails on the back, you will see 2 slots that hold the button on the lower side of the glass button (not to mention the bottom nails), from there you push it out with a small screwdriver and put it upside down in a non-boiling hot water and let it rest on this surface it will soften other ingredients and easy to peel. Remove it after 15 minutes and peel it off with your fingernail. After making sure that it is completely peeled, we clean it thoroughly and spray the glossy varnish twice. I think it looks very stylish. If I have a plan for the driver's window controls, I will open the subject again. It was a mess but I think it was worth it, especially the buttons fit very well. Note: It may be my mistakes that have been made completely amateur. I hope it was useful to everyone. 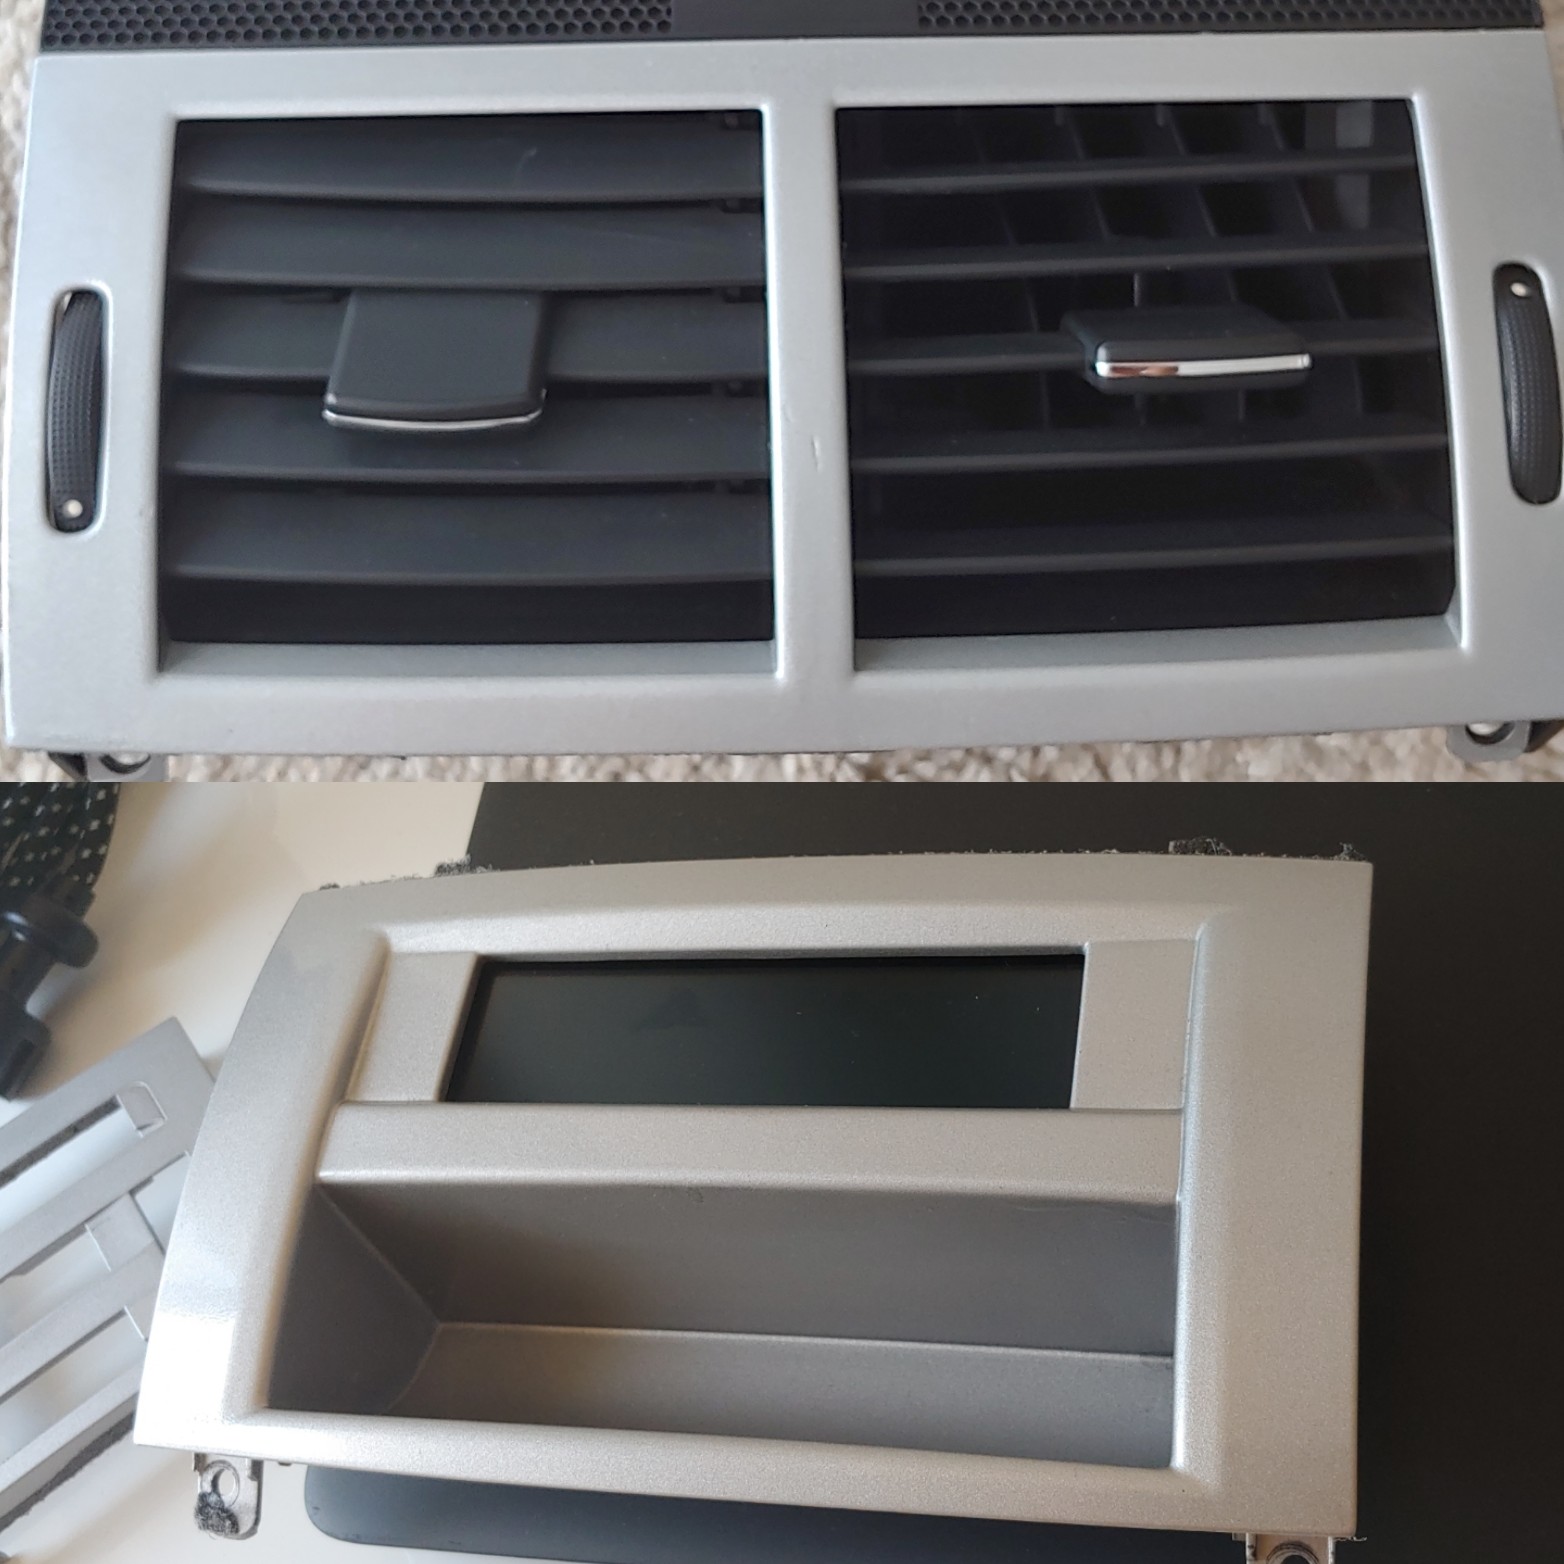 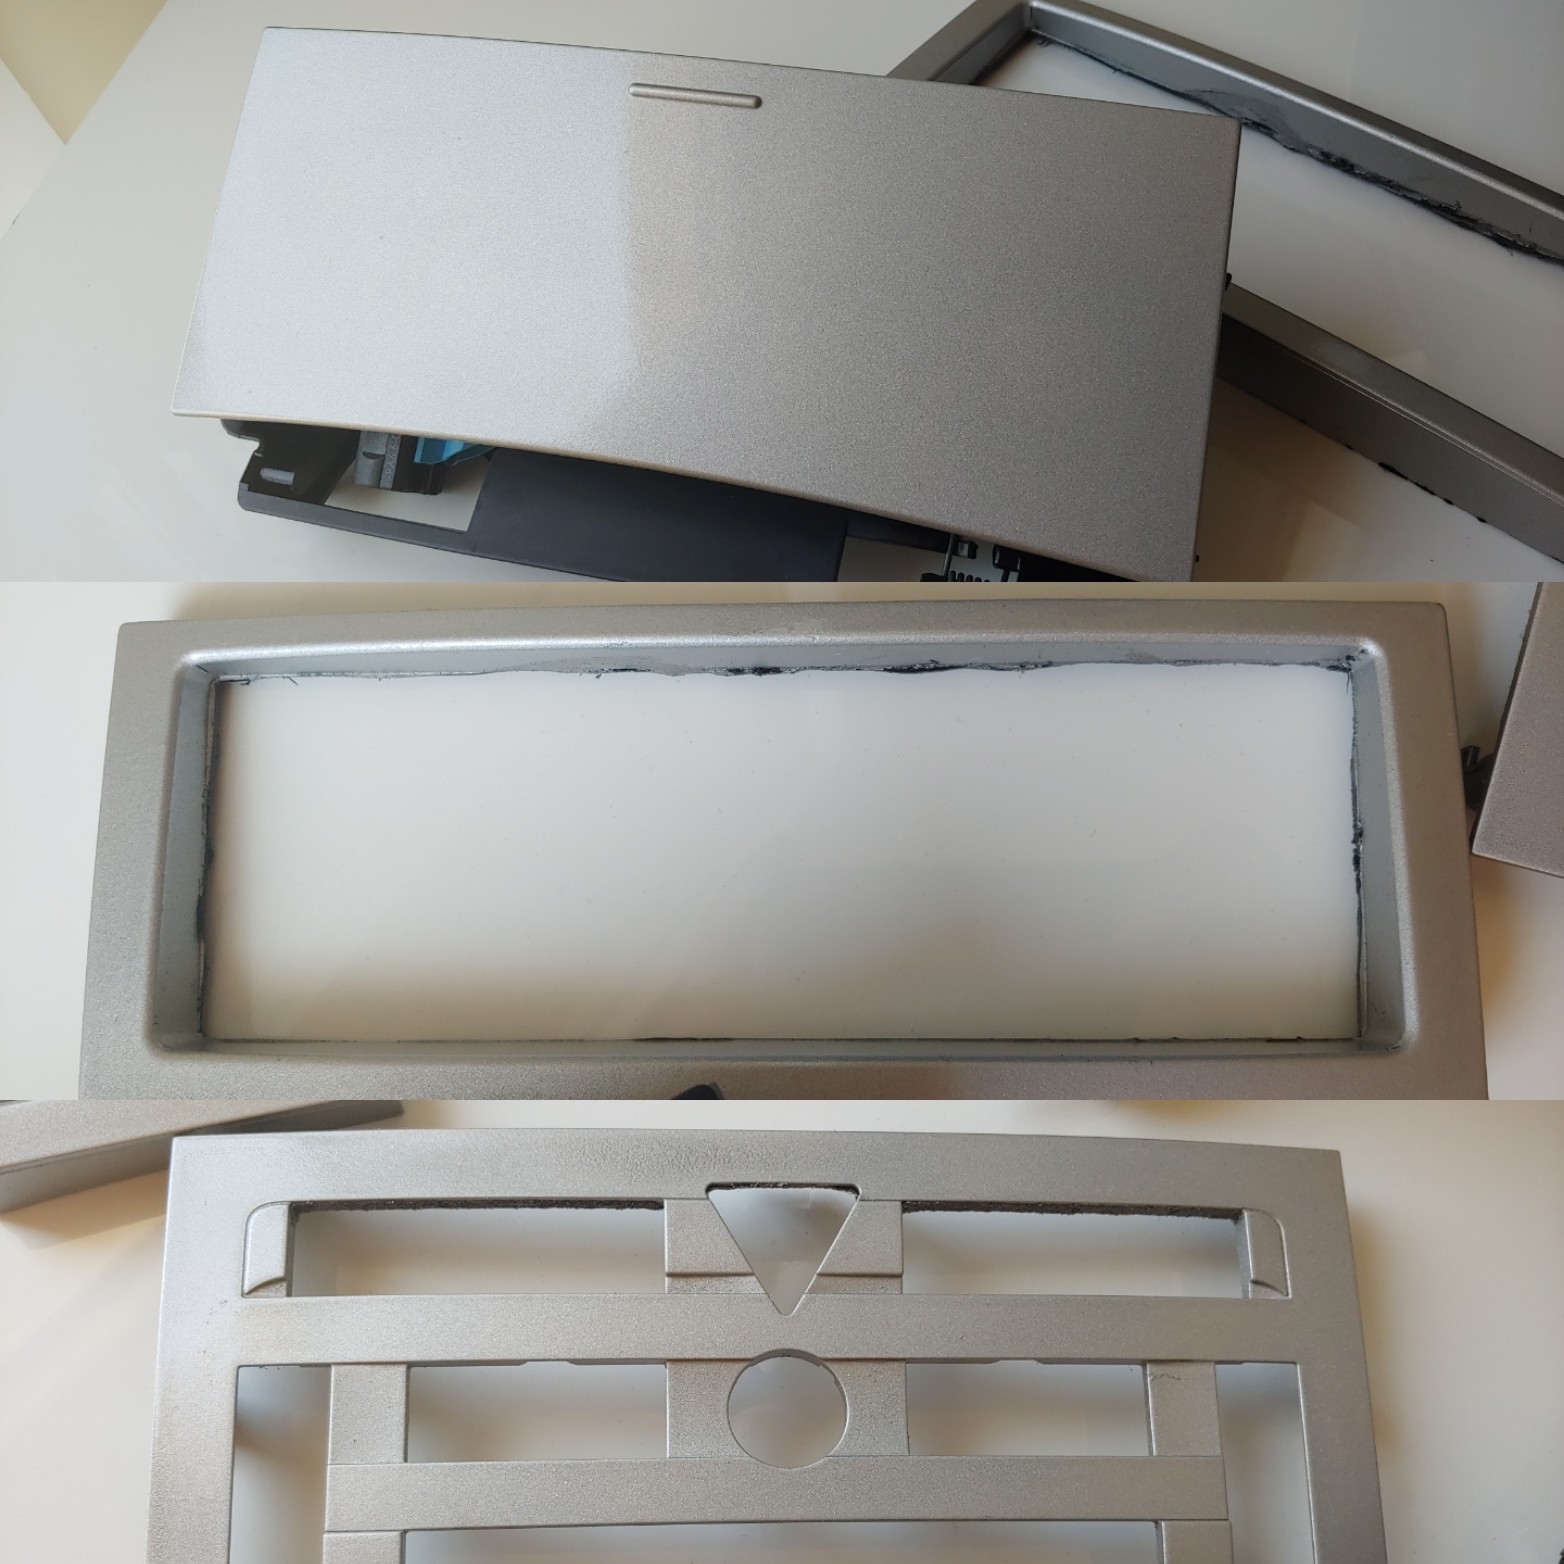 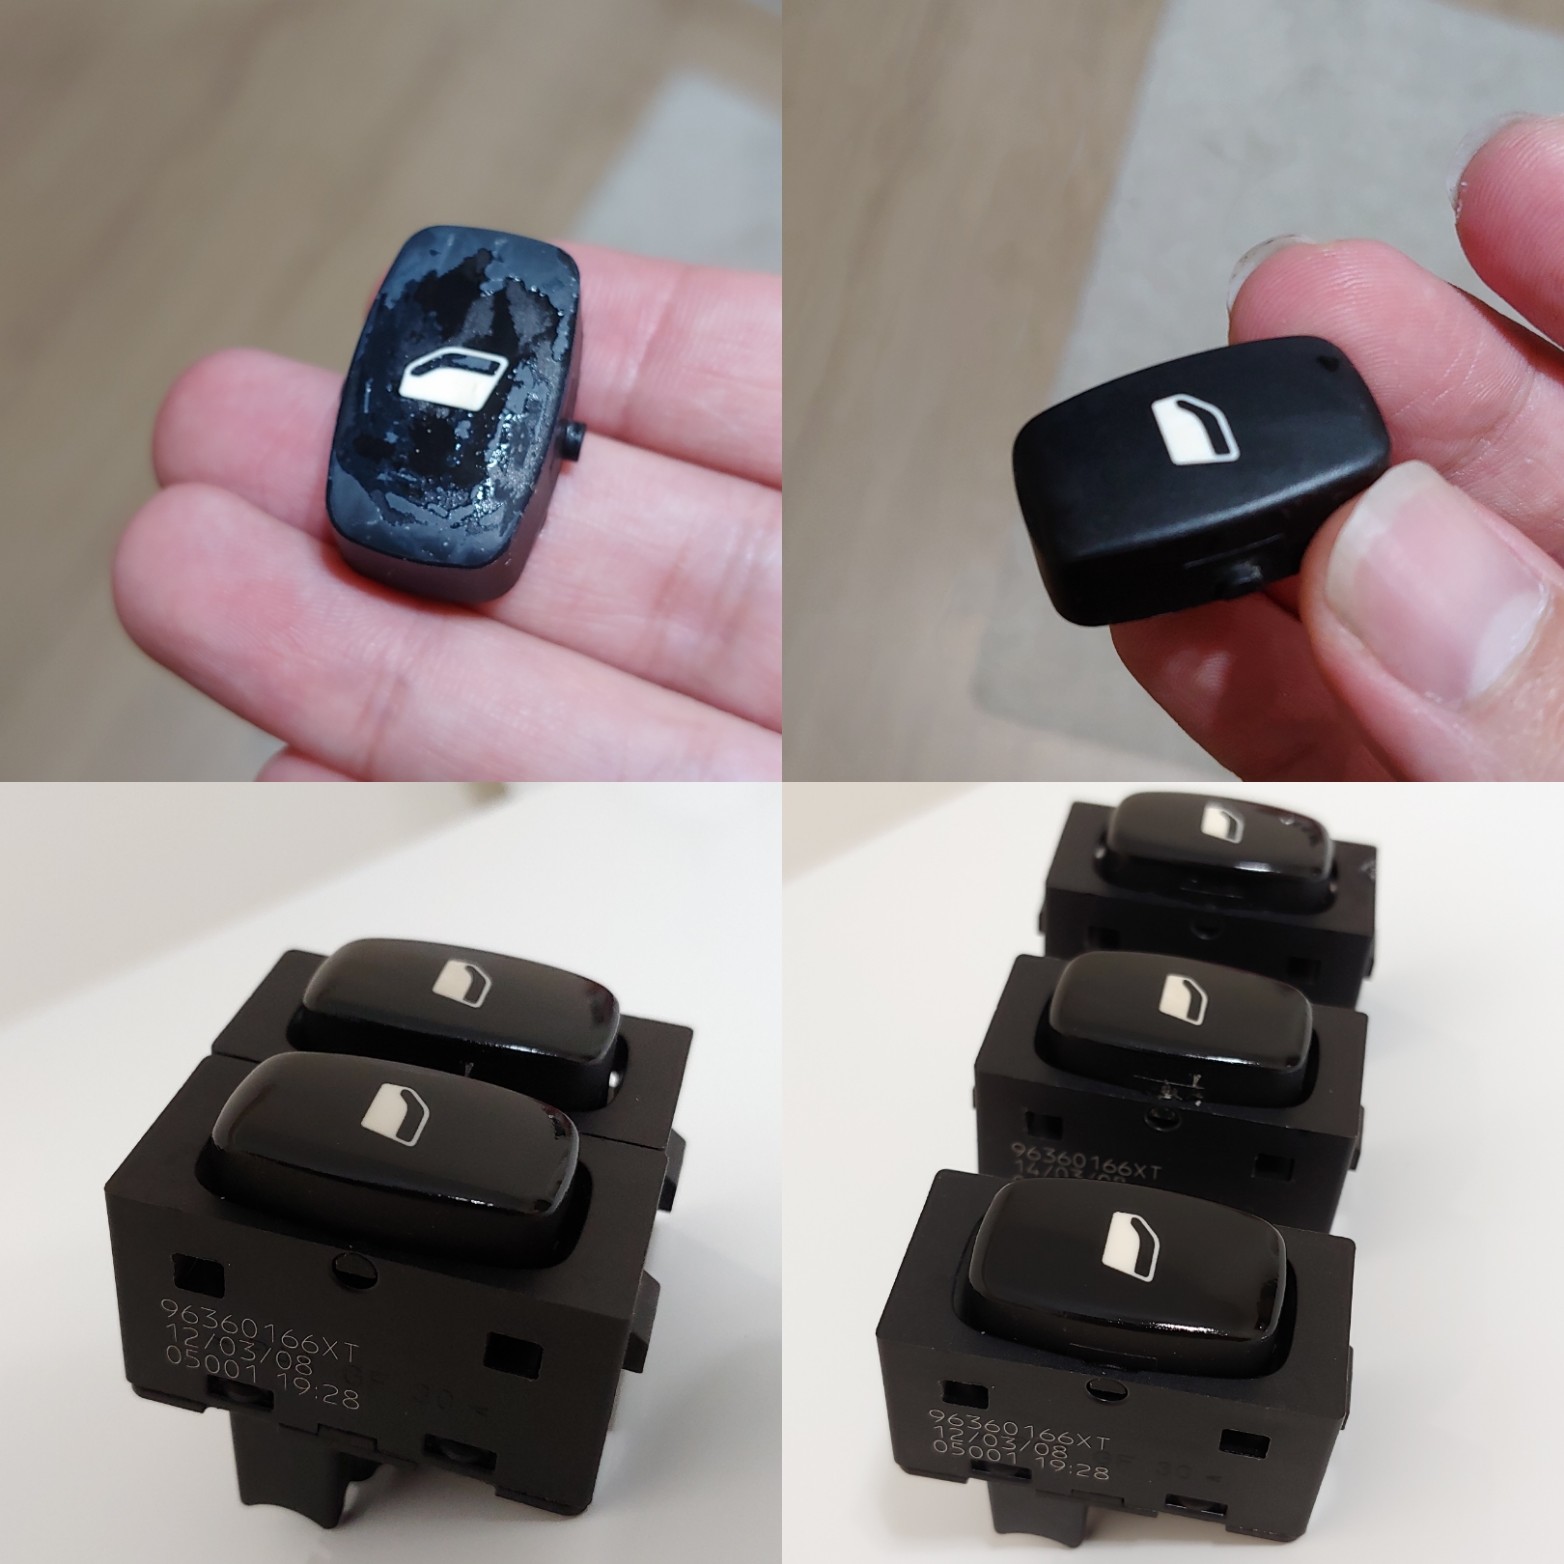 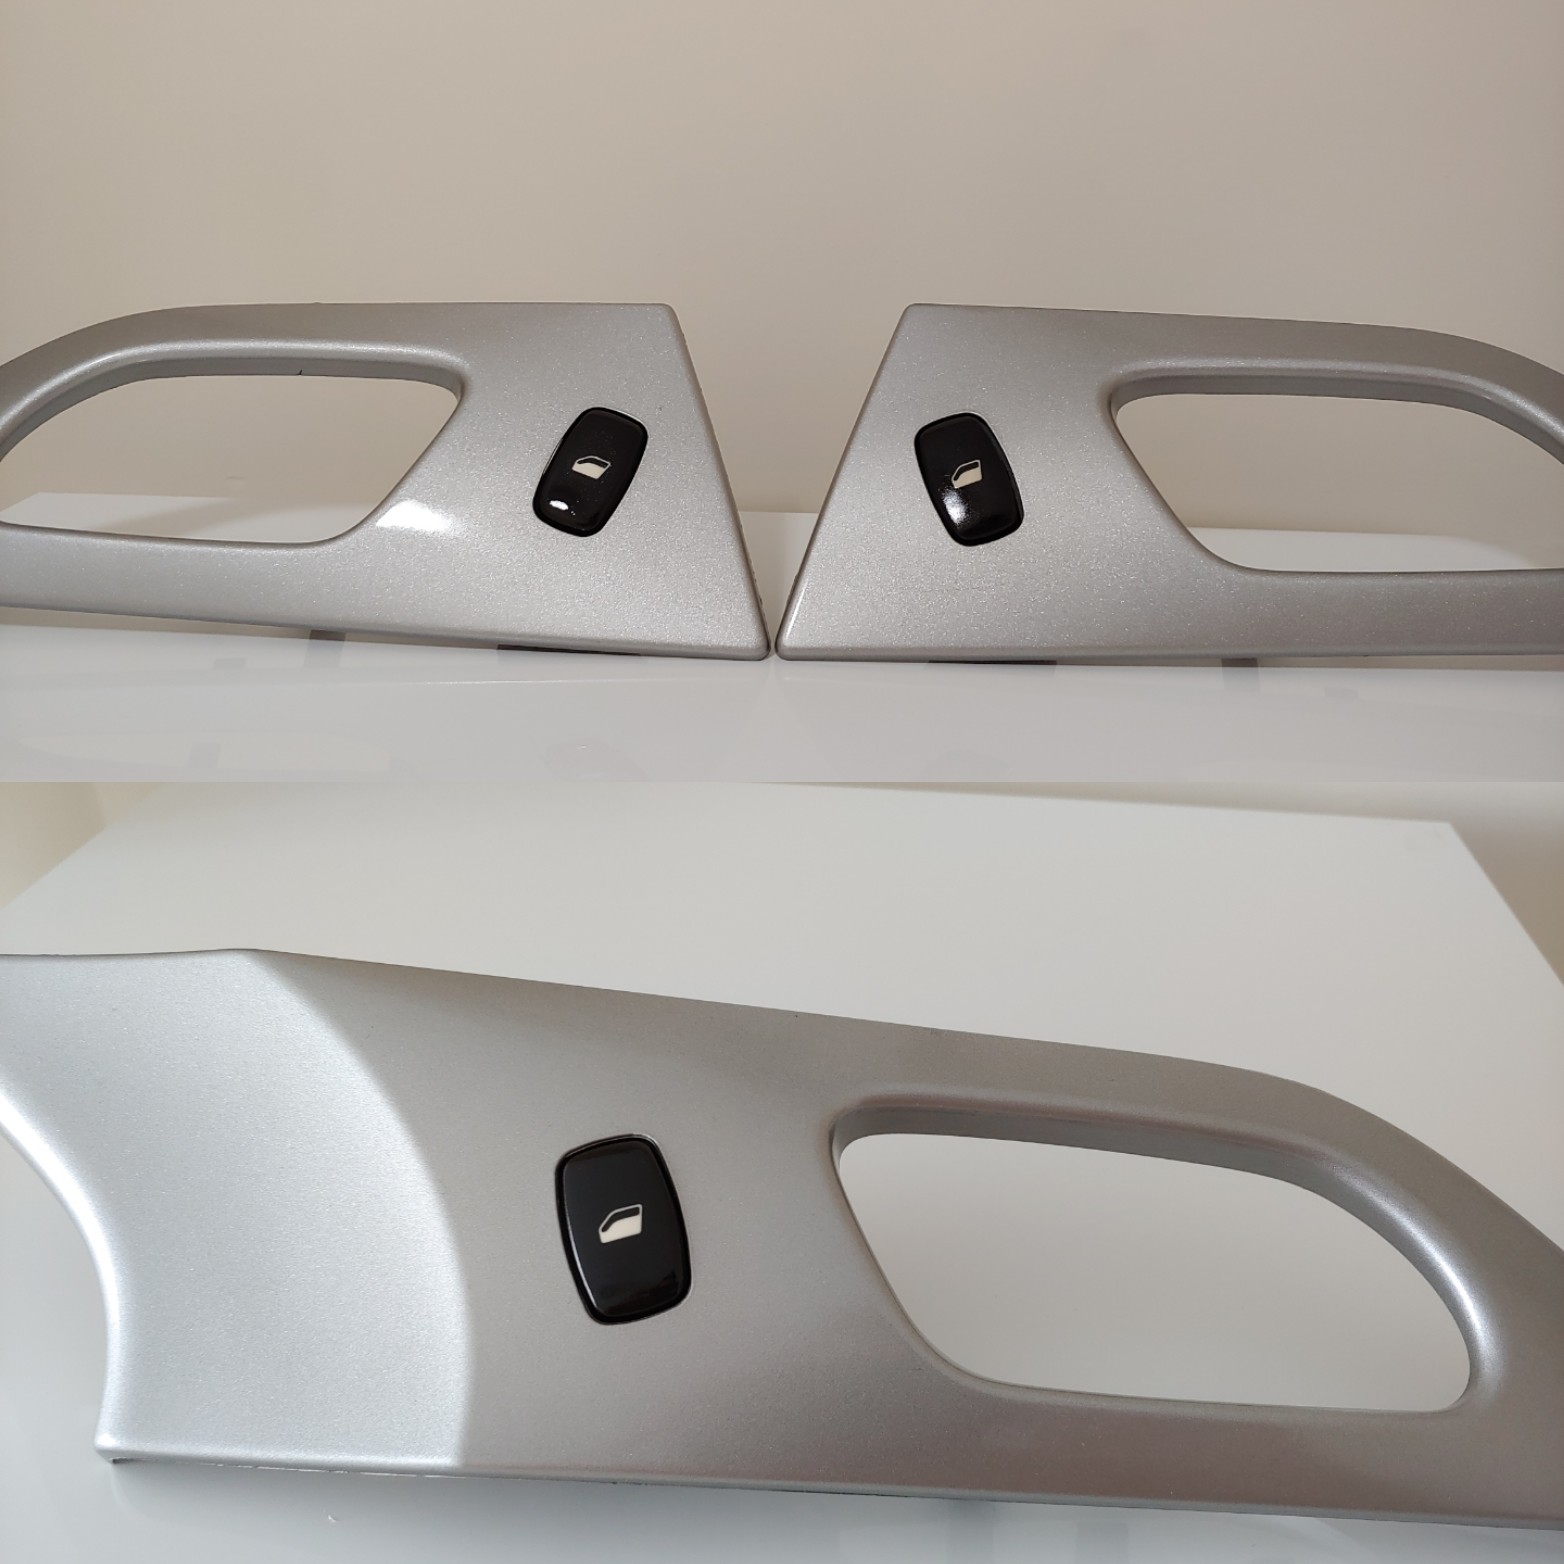 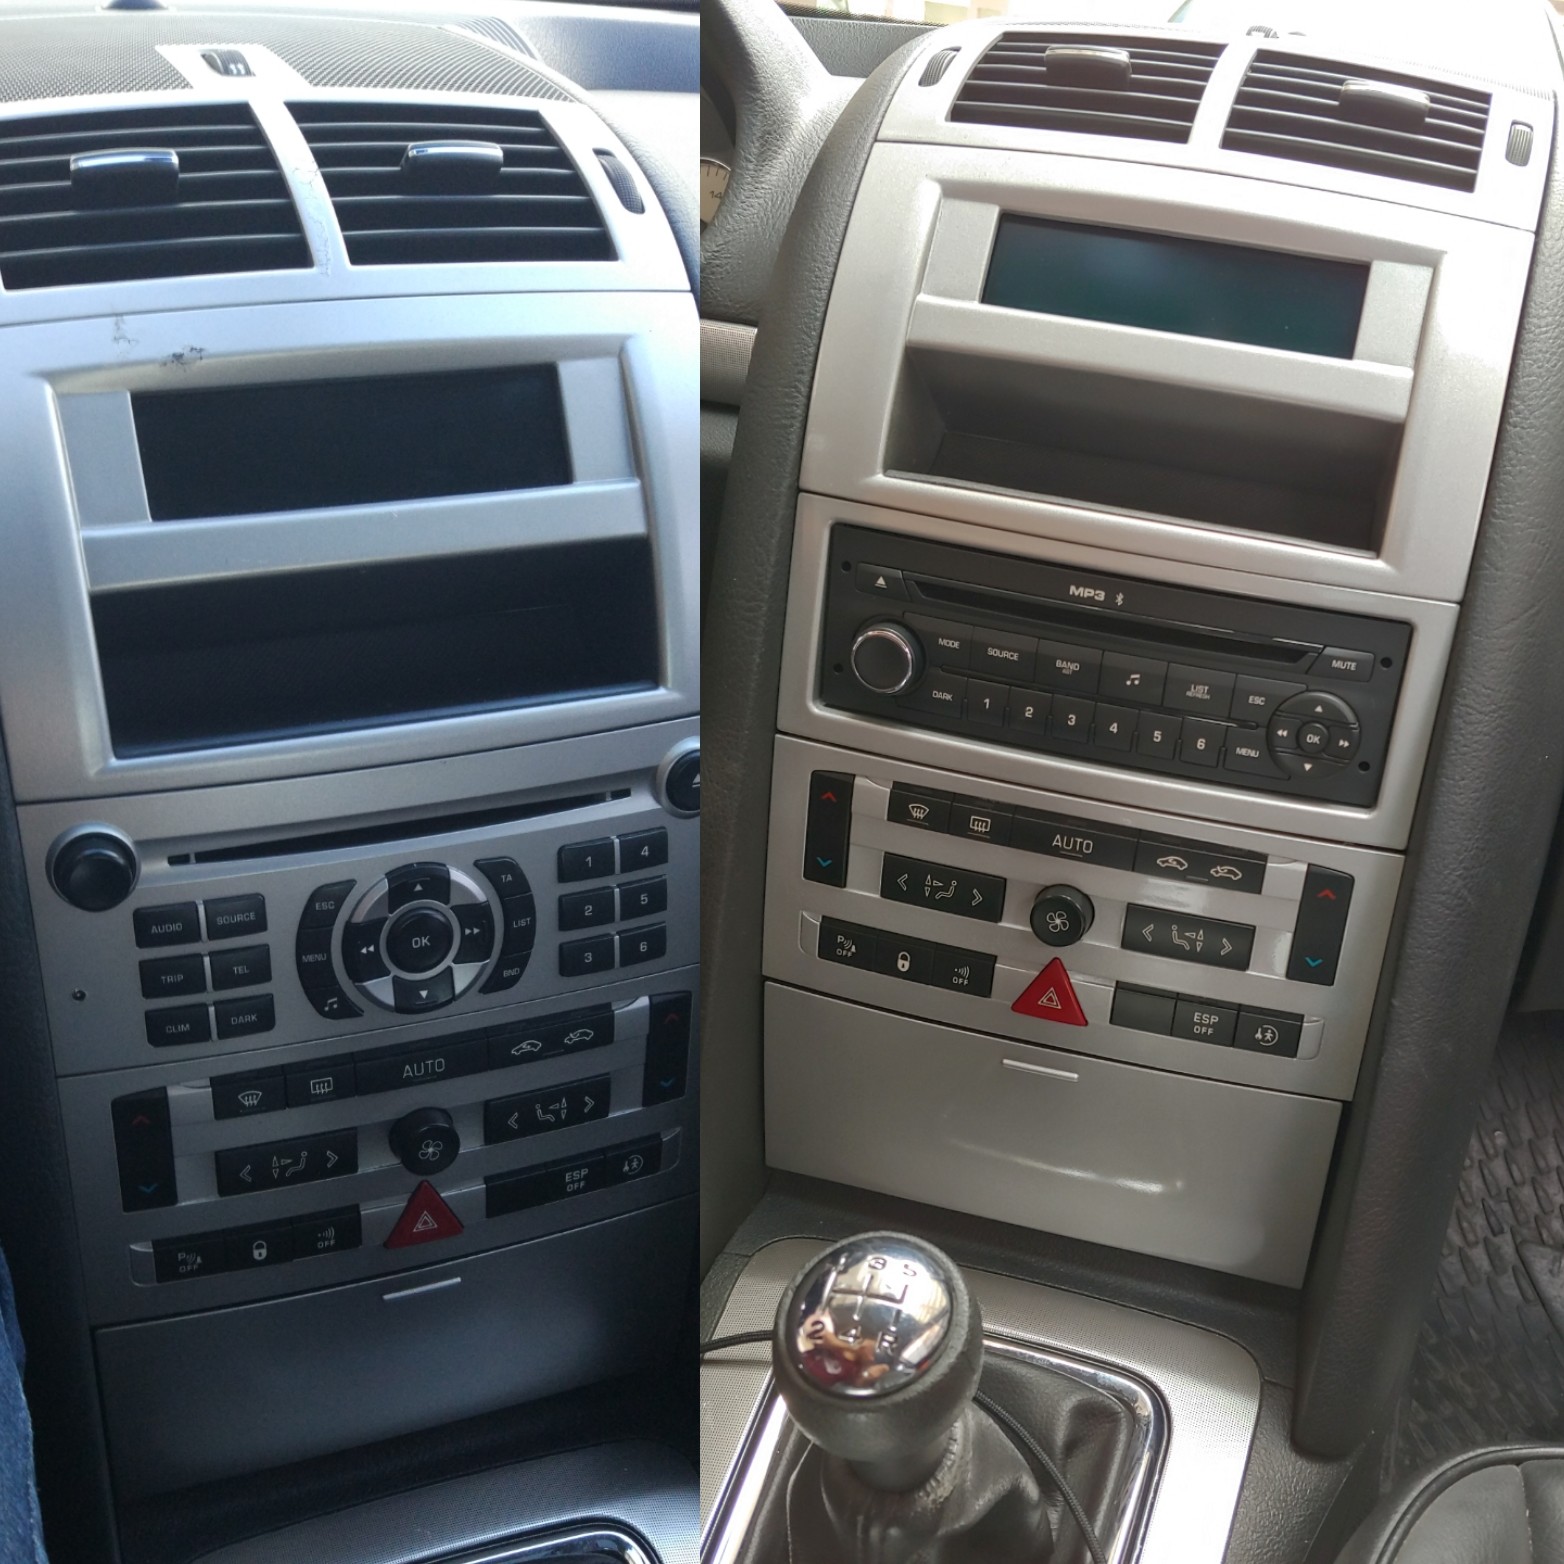
|
|
| 08.05.2020 21:19 | # 2 |
|
Your health teacher is legendary! 
|
|
| 08.05.2020 21:19 | # 3 |
| iso0625 |
|
|
Thank you teacher :)
|
|
| 08.05.2020 21:19 | # 4 |
|
bless your hands
|
|
| 08.05.2020 21:19 | # 5 |
| iso0625 |
|
|
Thanks.
|
|

