

|
|
|

|
peugeot 206 1.4 8v Valve Adjustment (Picture) |
| • Homepage » PEUGEOT MODELS (FAULTS AND SOLUTIONS) » 206 | |
| 07.07.2022 21:17 | # 1 |
|
I was going to do valve adjustment for a long time, but I couldn't find the opportunity. I completed my valve adjustment in the past weeks and I wanted to be a guide for those who want to do it. There are no very detailed pictures, but a general outline is formed at least.< /div> By the way, you start these processes after the engine has rested for about 3 hours. Not when the engine is completely cold or when its temperature is at 90 degrees. If you do it on the engine, you will have tight valves. Again, 0.15 intake and 0.35 exhaust can be adjusted for a cold engine that has been waited until the next day. We need to relax the working area. In this, after removing the ignition coil from its socket, we loosen the 2 10' nuts on the right and left and pull the coil. There are 10 nuts each, when you unscrew, you can take the protection plastic, then we take the 10 nuts on the right and left of the top cover, the cover is ready to be removed. Just be careful when removing the cover, there is a protection sheet just below it and there are two washers. You need to buy it. After the cover and sheet metal are removed, you see this image. My car was overheated before, so the parts were black. The oil was in bad condition.  < /div> The protection plate I mentioned is in the picture below. The point I want to draw attention to in the picture is where the sheet metal is pierced. another tool to replace the original The n-adjustment nut was installed and they pierced the sheet because it was high. I appreciate your skill, your friend who wears it. < /div> 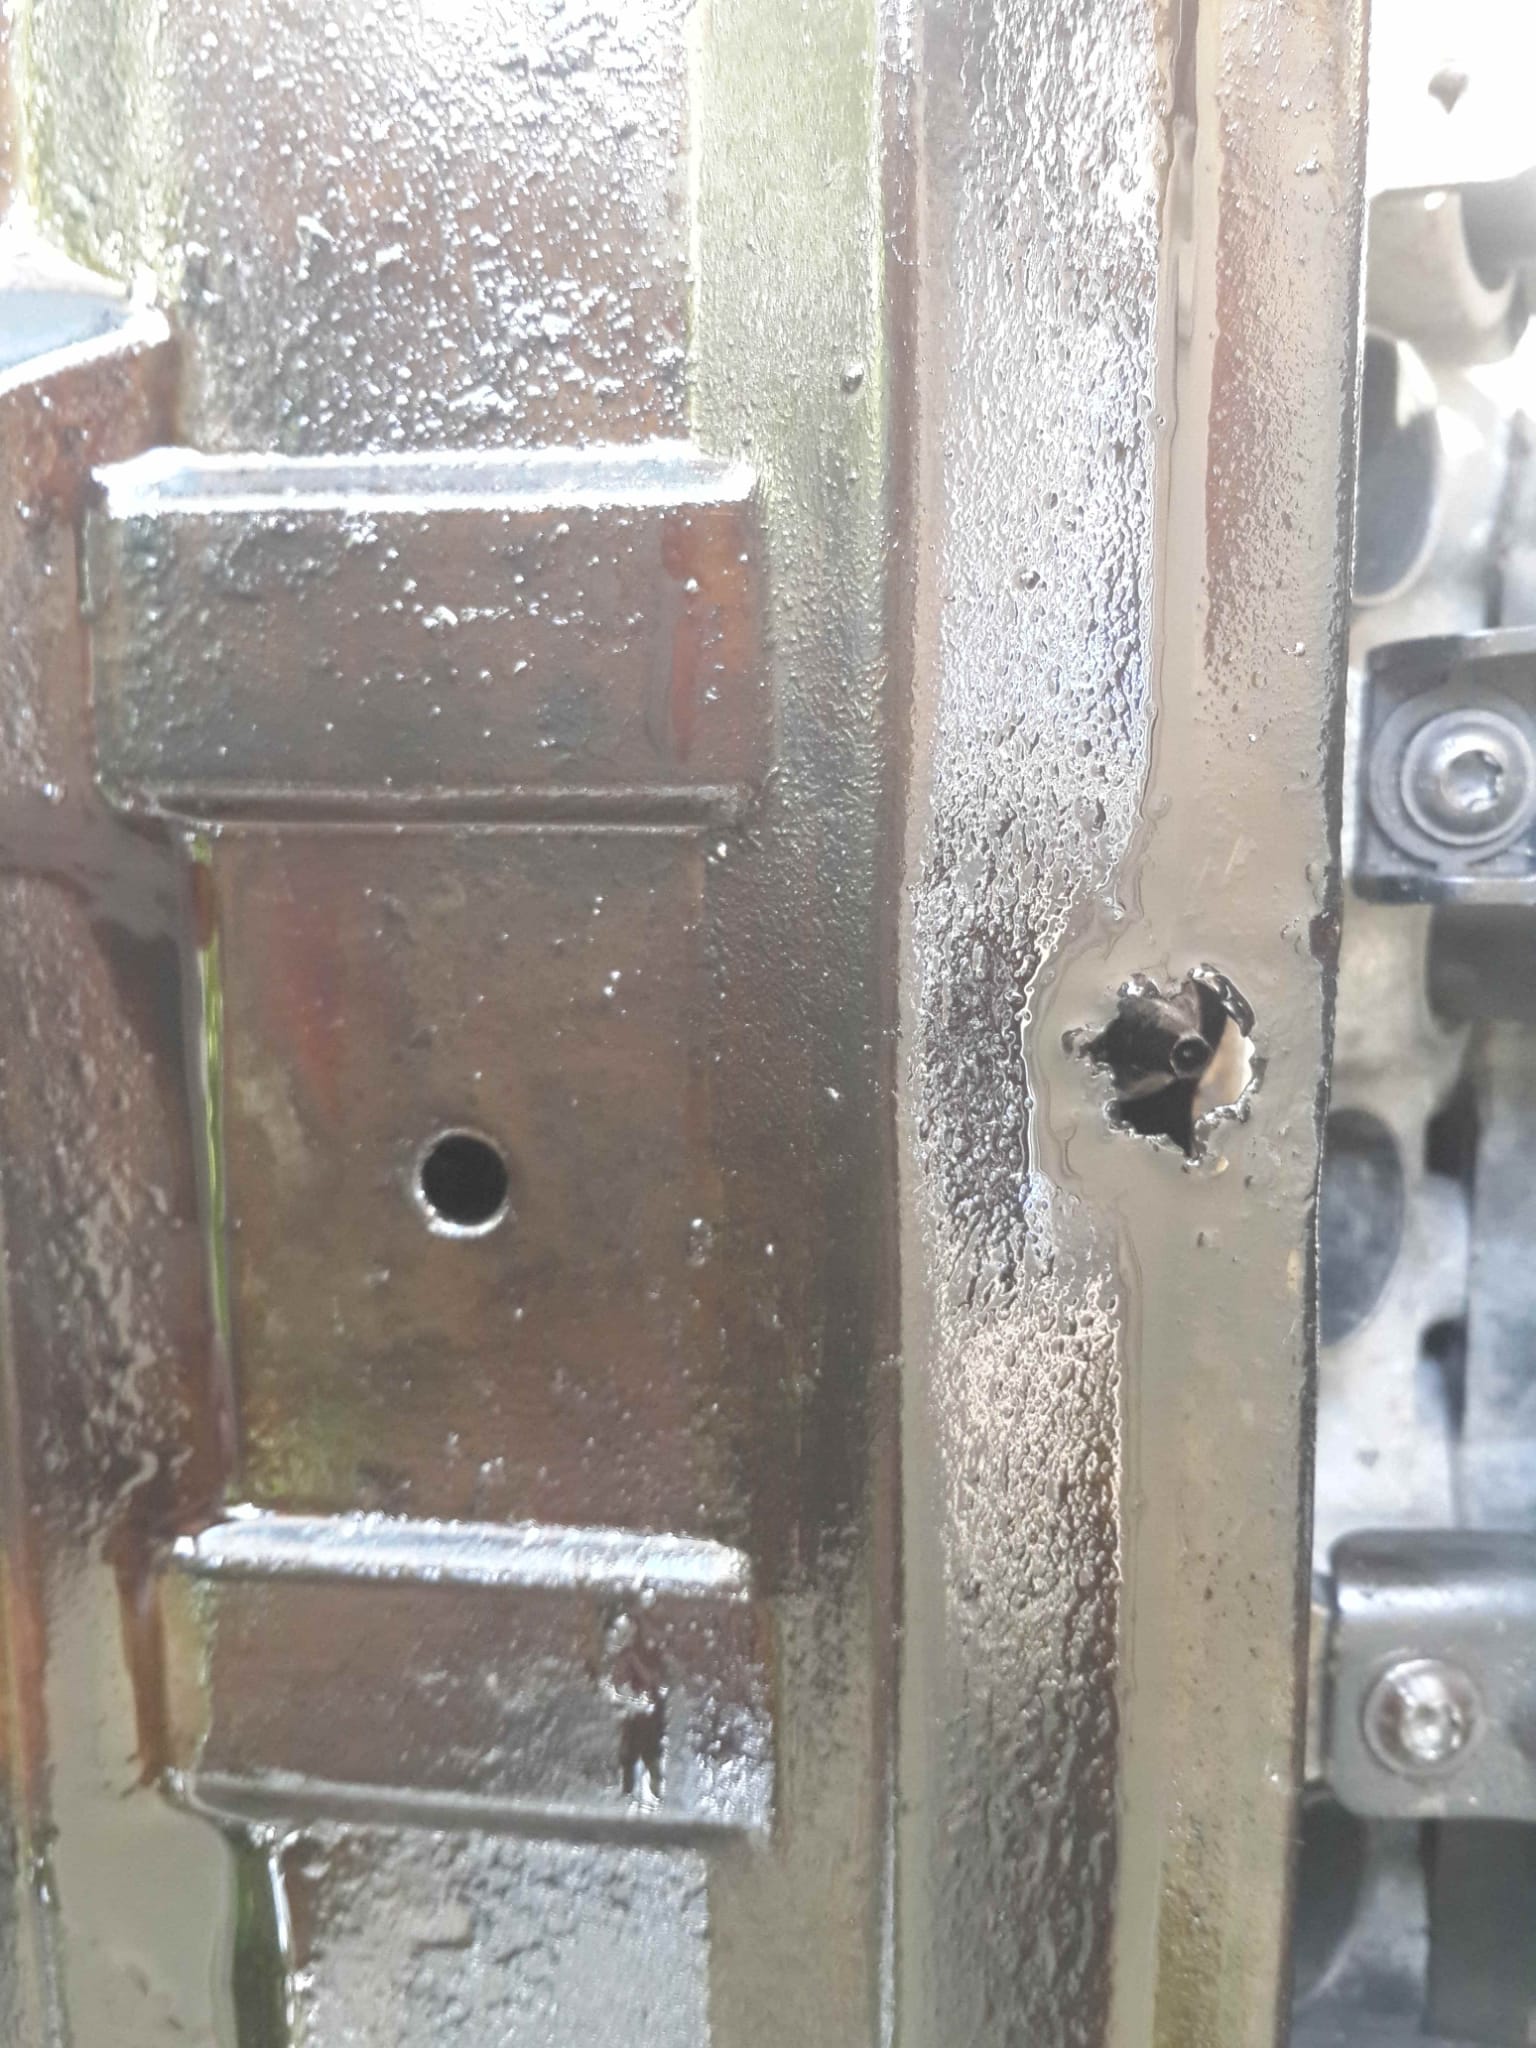 in the picture below, the inside of the cover is being cleaned with asperox 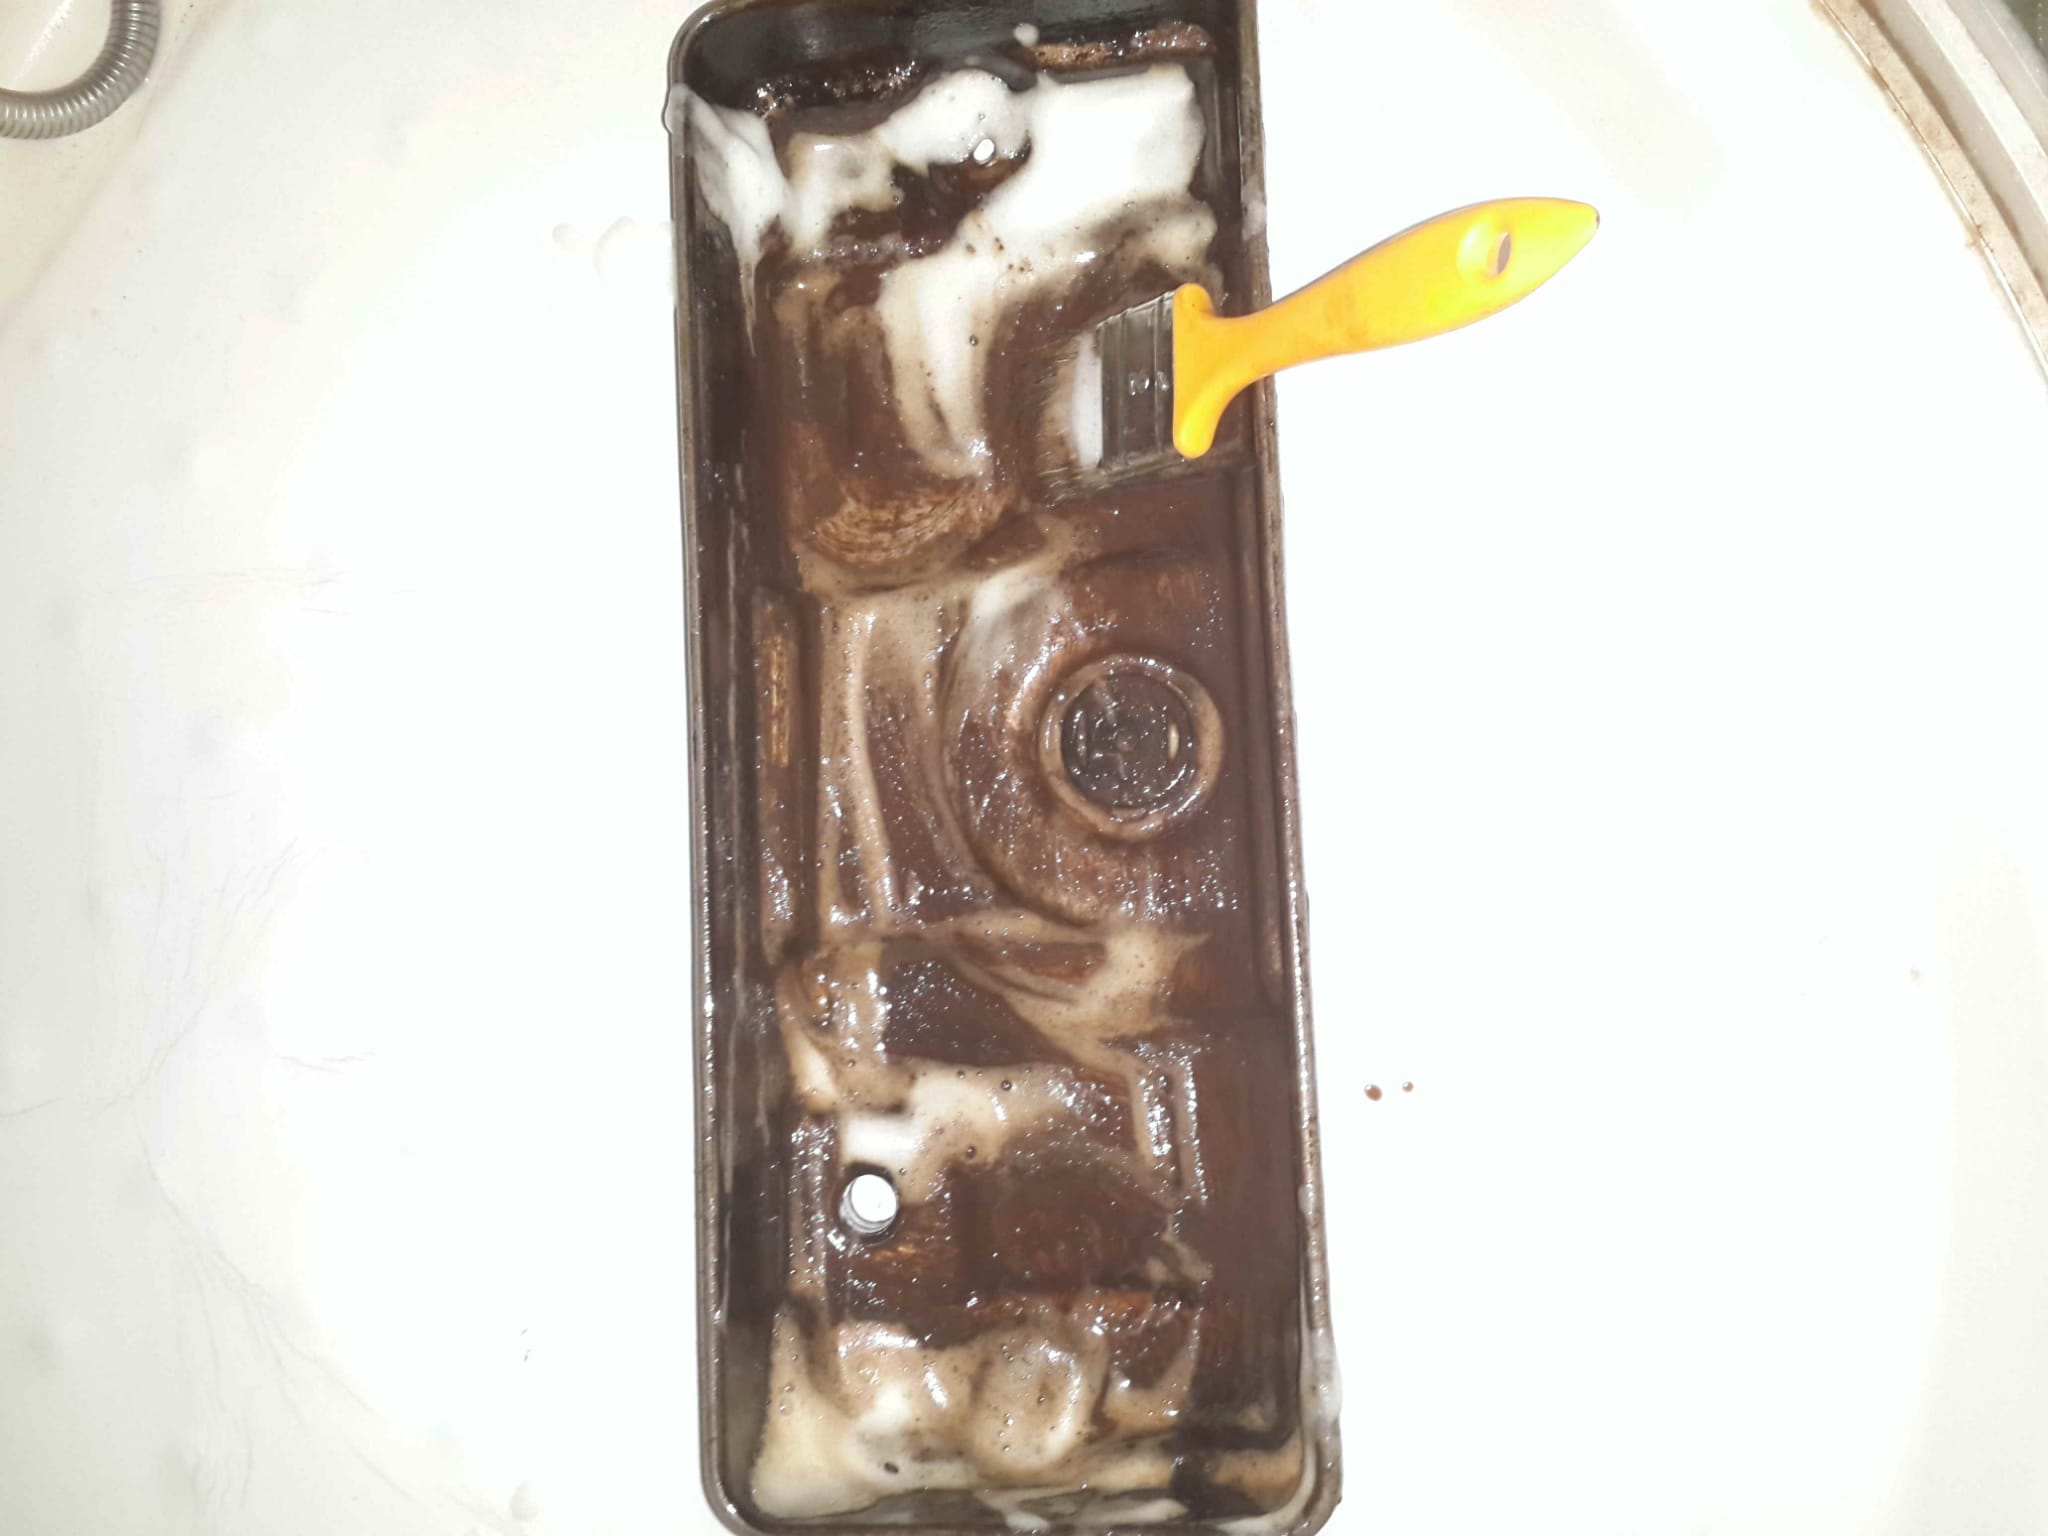 in the picture below you can see the washed top cover.  this is the top cover outer side.rusty and it's in very bad condition. I'll take care of it in the following pictures :) < br> Now let's come to the adjustment part. This is where you need to be careful. First of all, you lift the car to the jack from the right wheel, because you will turn the engine from the crank (if you wish). He removed the plastic before with a 16 wrench. We can turn it from the camshaft, but I don't recommend it). In the picture, the number 1 intake and exhaust (the intake is the valve facing the windshield side and the exhaust is the valve facing the radiator side) will move as we turn the crank. Let's say when the intake and exhaust are at the top. In this situation, the number 4 intake and exhaust in the picture will be wasted. When you move it with your hand, you will see the gap. You adjust the valves at number 4 as 0.20mm intake and 0.40mm exhaust (filler knife is required). While adjusting the valve, the 10-nut nut is loosened. The specified value of the filler knife is inserted between the valve and the adjustment screw that presses the valve, the adjustment nut is clockwise or tee.Instead, it is tightened or loosened. The filler knife is adjusted to be tight and you tighten the 10 nut so that the adjustment is made. You will catch and stop when it is in this position. You will adjust the intake and exhaust no. 1 to the same values when it is in this position. You will adjust the number 3 when the intake and exhaust are at the top. 0.20 mm.all exhaust valves are adjusted 0.40 mm -1 set to 4 when overlay -4 is set to 1 when overlay -2 set to 3 when overlay -3 set to 2 when overlay 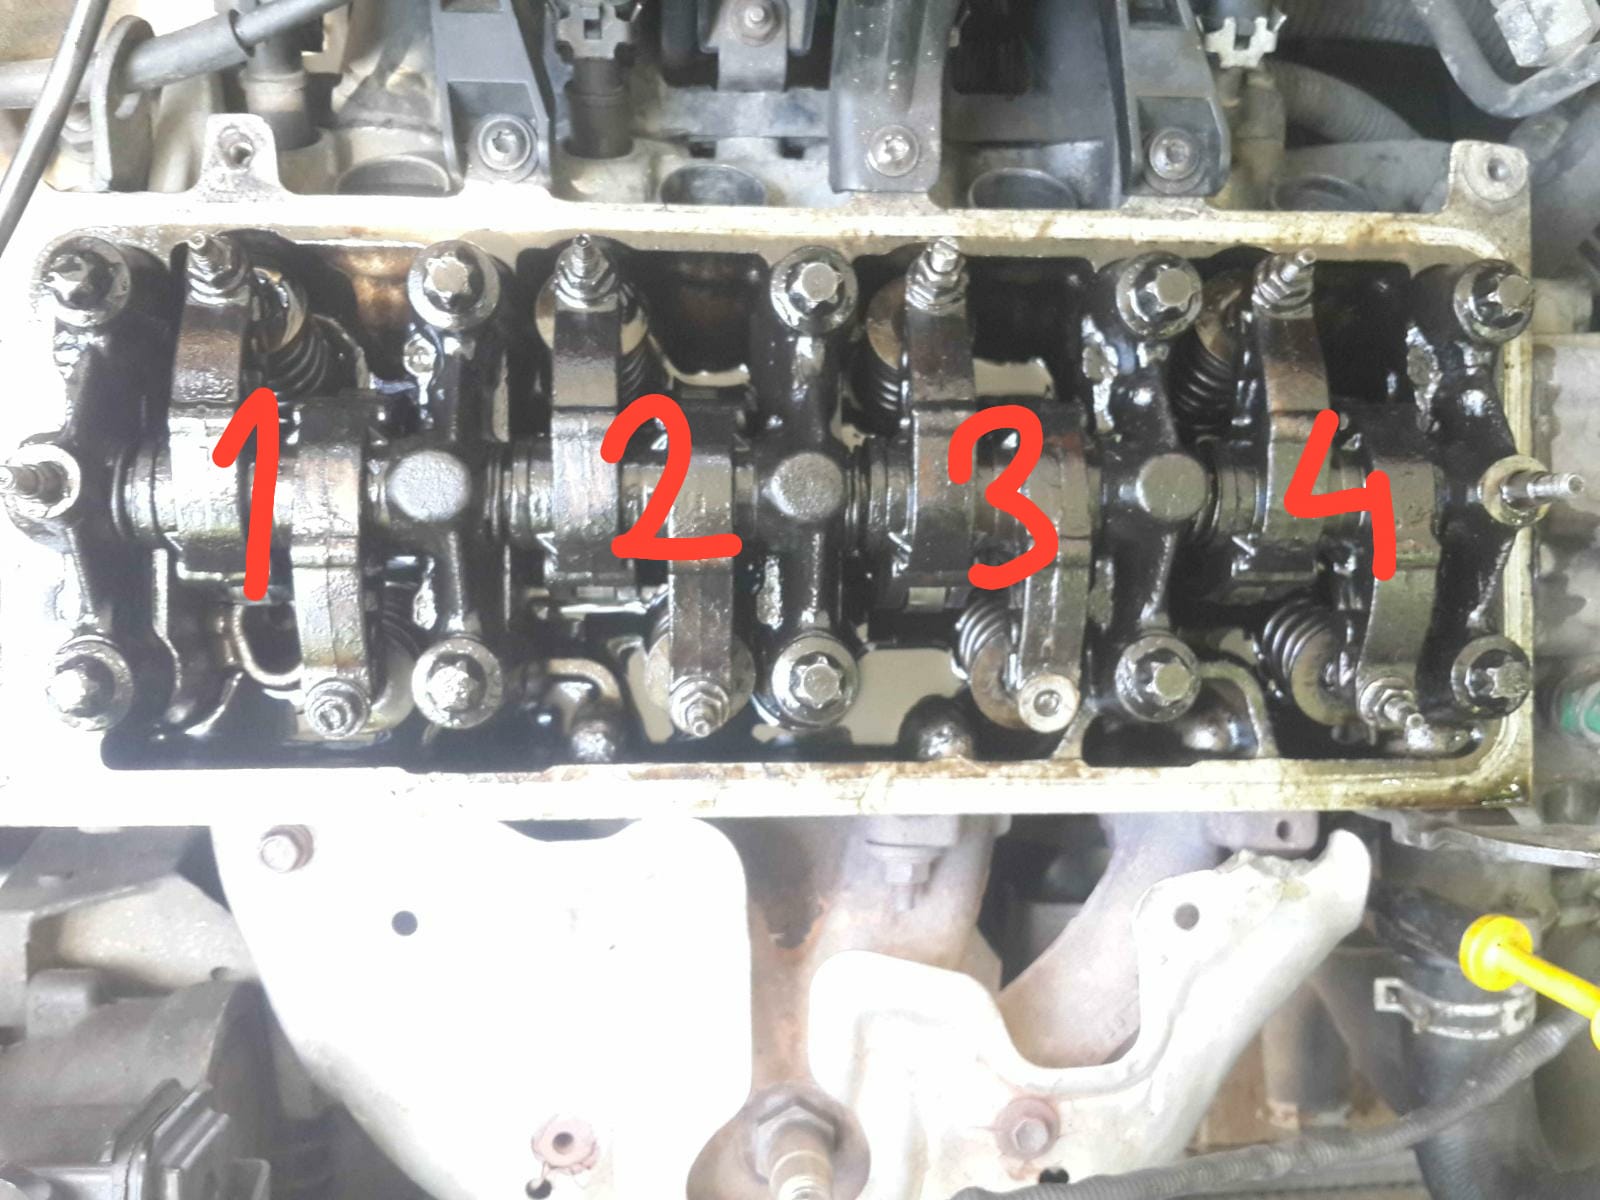 a small precious footnote definitely replace the 10' fixing nuts of the valve adjustment nuts Don't try to tighten it too much. If you break the adjustment nut like me, you'll get a headache :) The valve adjustment screw I marked with my finger broke and you can't replace the pianos (the part that presses the valves) without disassembling them 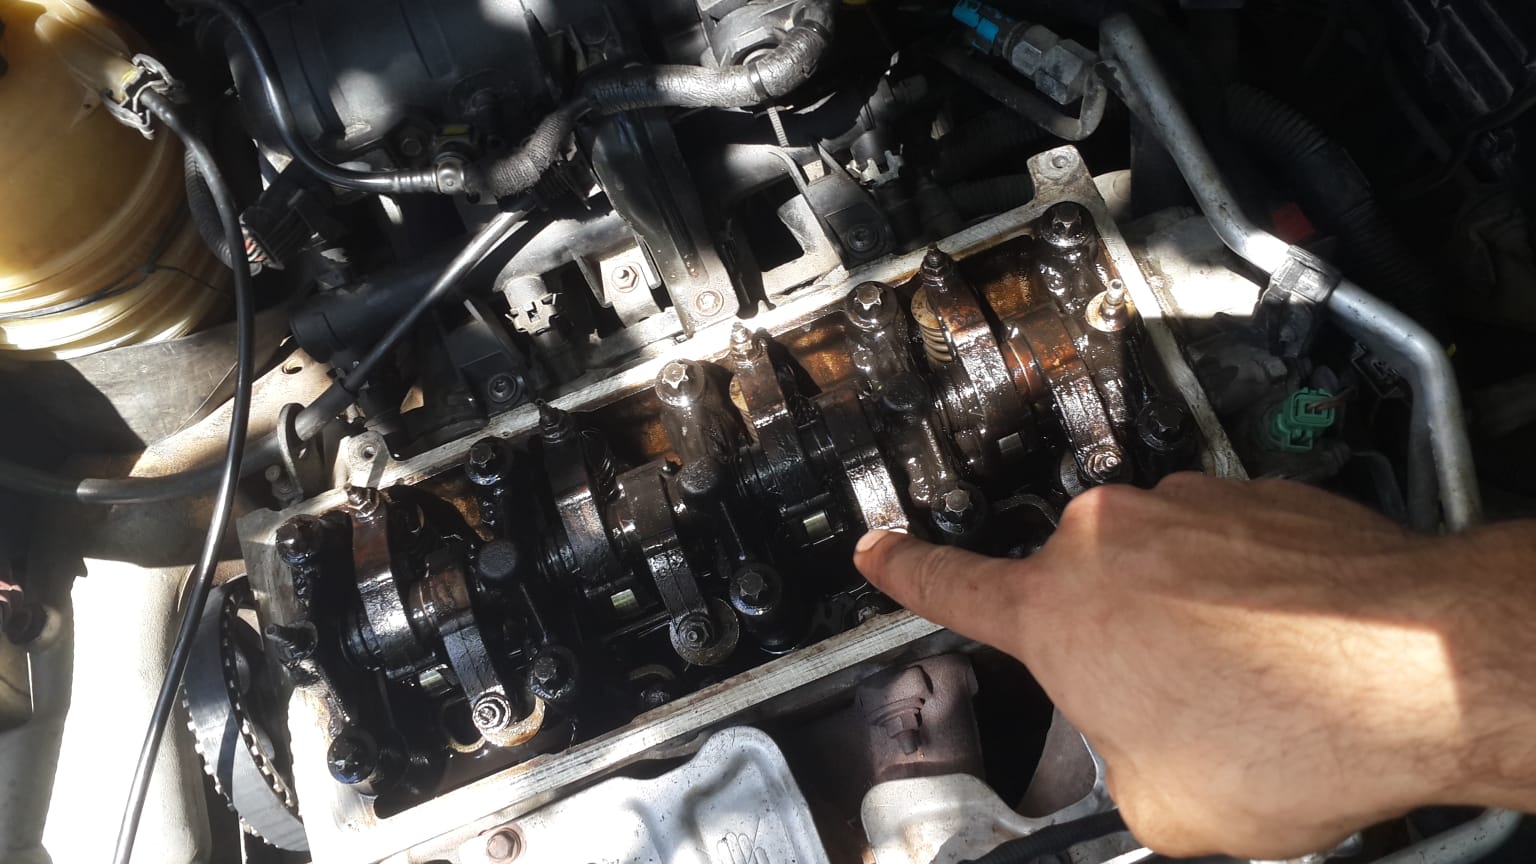 I had no trouble finding the valve adjustment screw. I bought a spare lira just in case. They don't throw it away. They said that they only supply service and masters. I traveled 150 km in total for 3 hours, but no one gave it to me. I remembered that we are in the internet age and I bought the e14 coded star bite tip from amazon for 25 liras, which they sold for 250 liras, and it came the same day. hi to the chippers :D picture you can see the broken valve adjustment screw on the right, it's solid.  If you have broken the valve adjustment screw and you are wondering how it will change, you need to remove the e14 coded cylinder deviations you see in the picture in diagonal order. There are 10 in total. 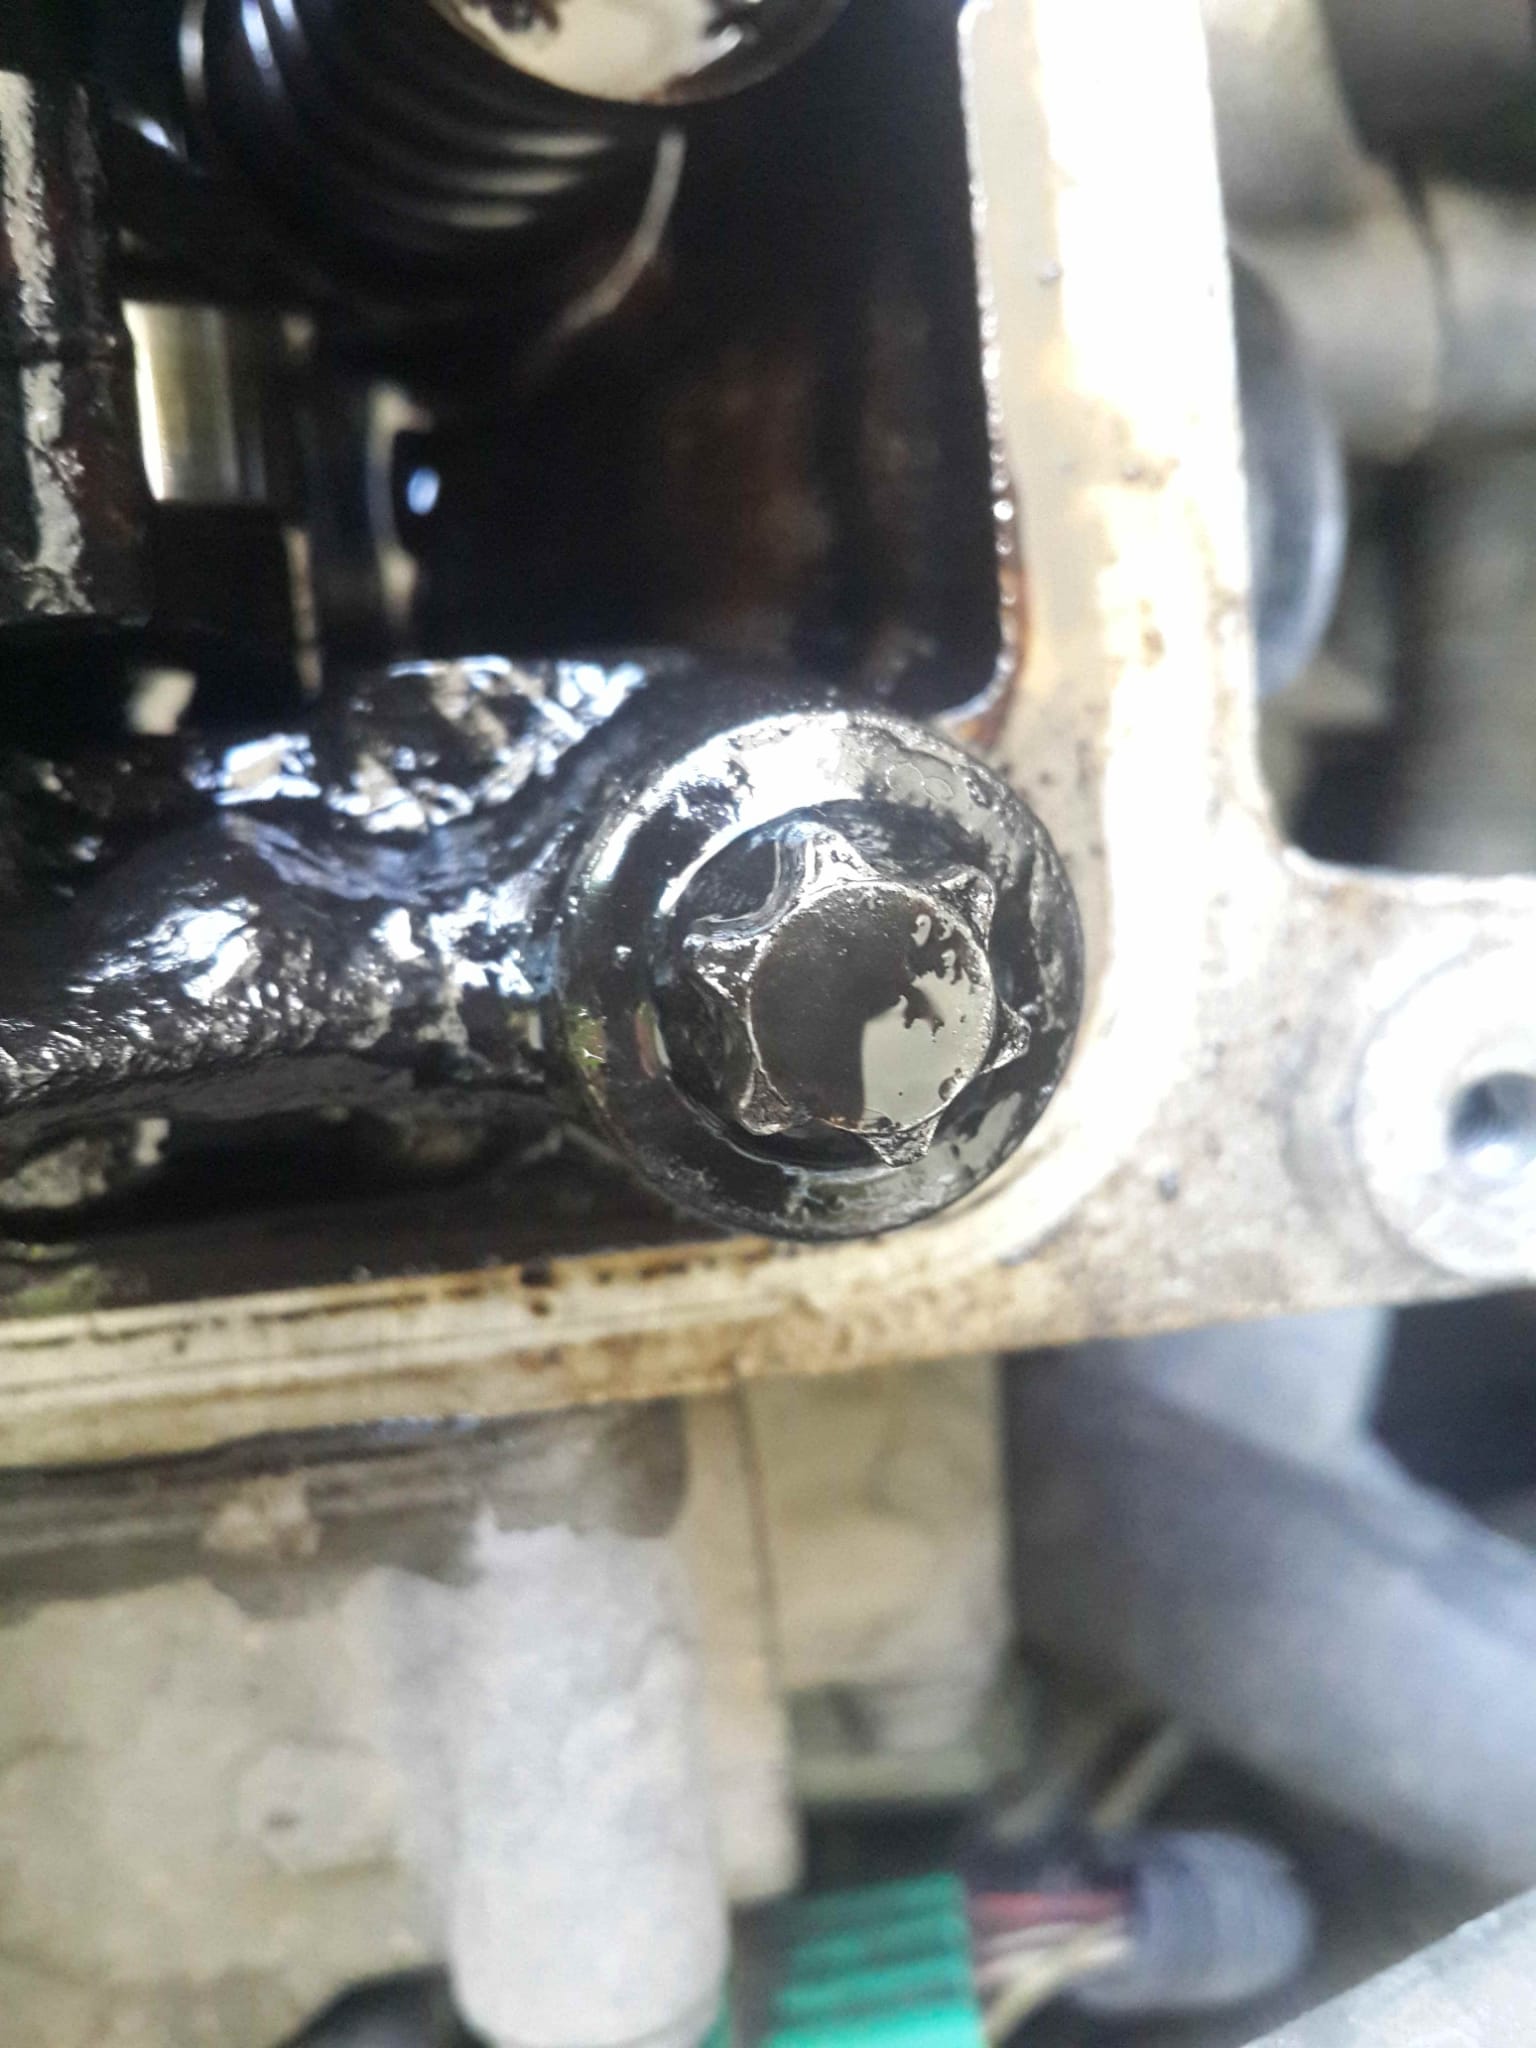 < span style="font-size: 14.6667px;"> as seen in the picture below. cylinder studs are being removed. 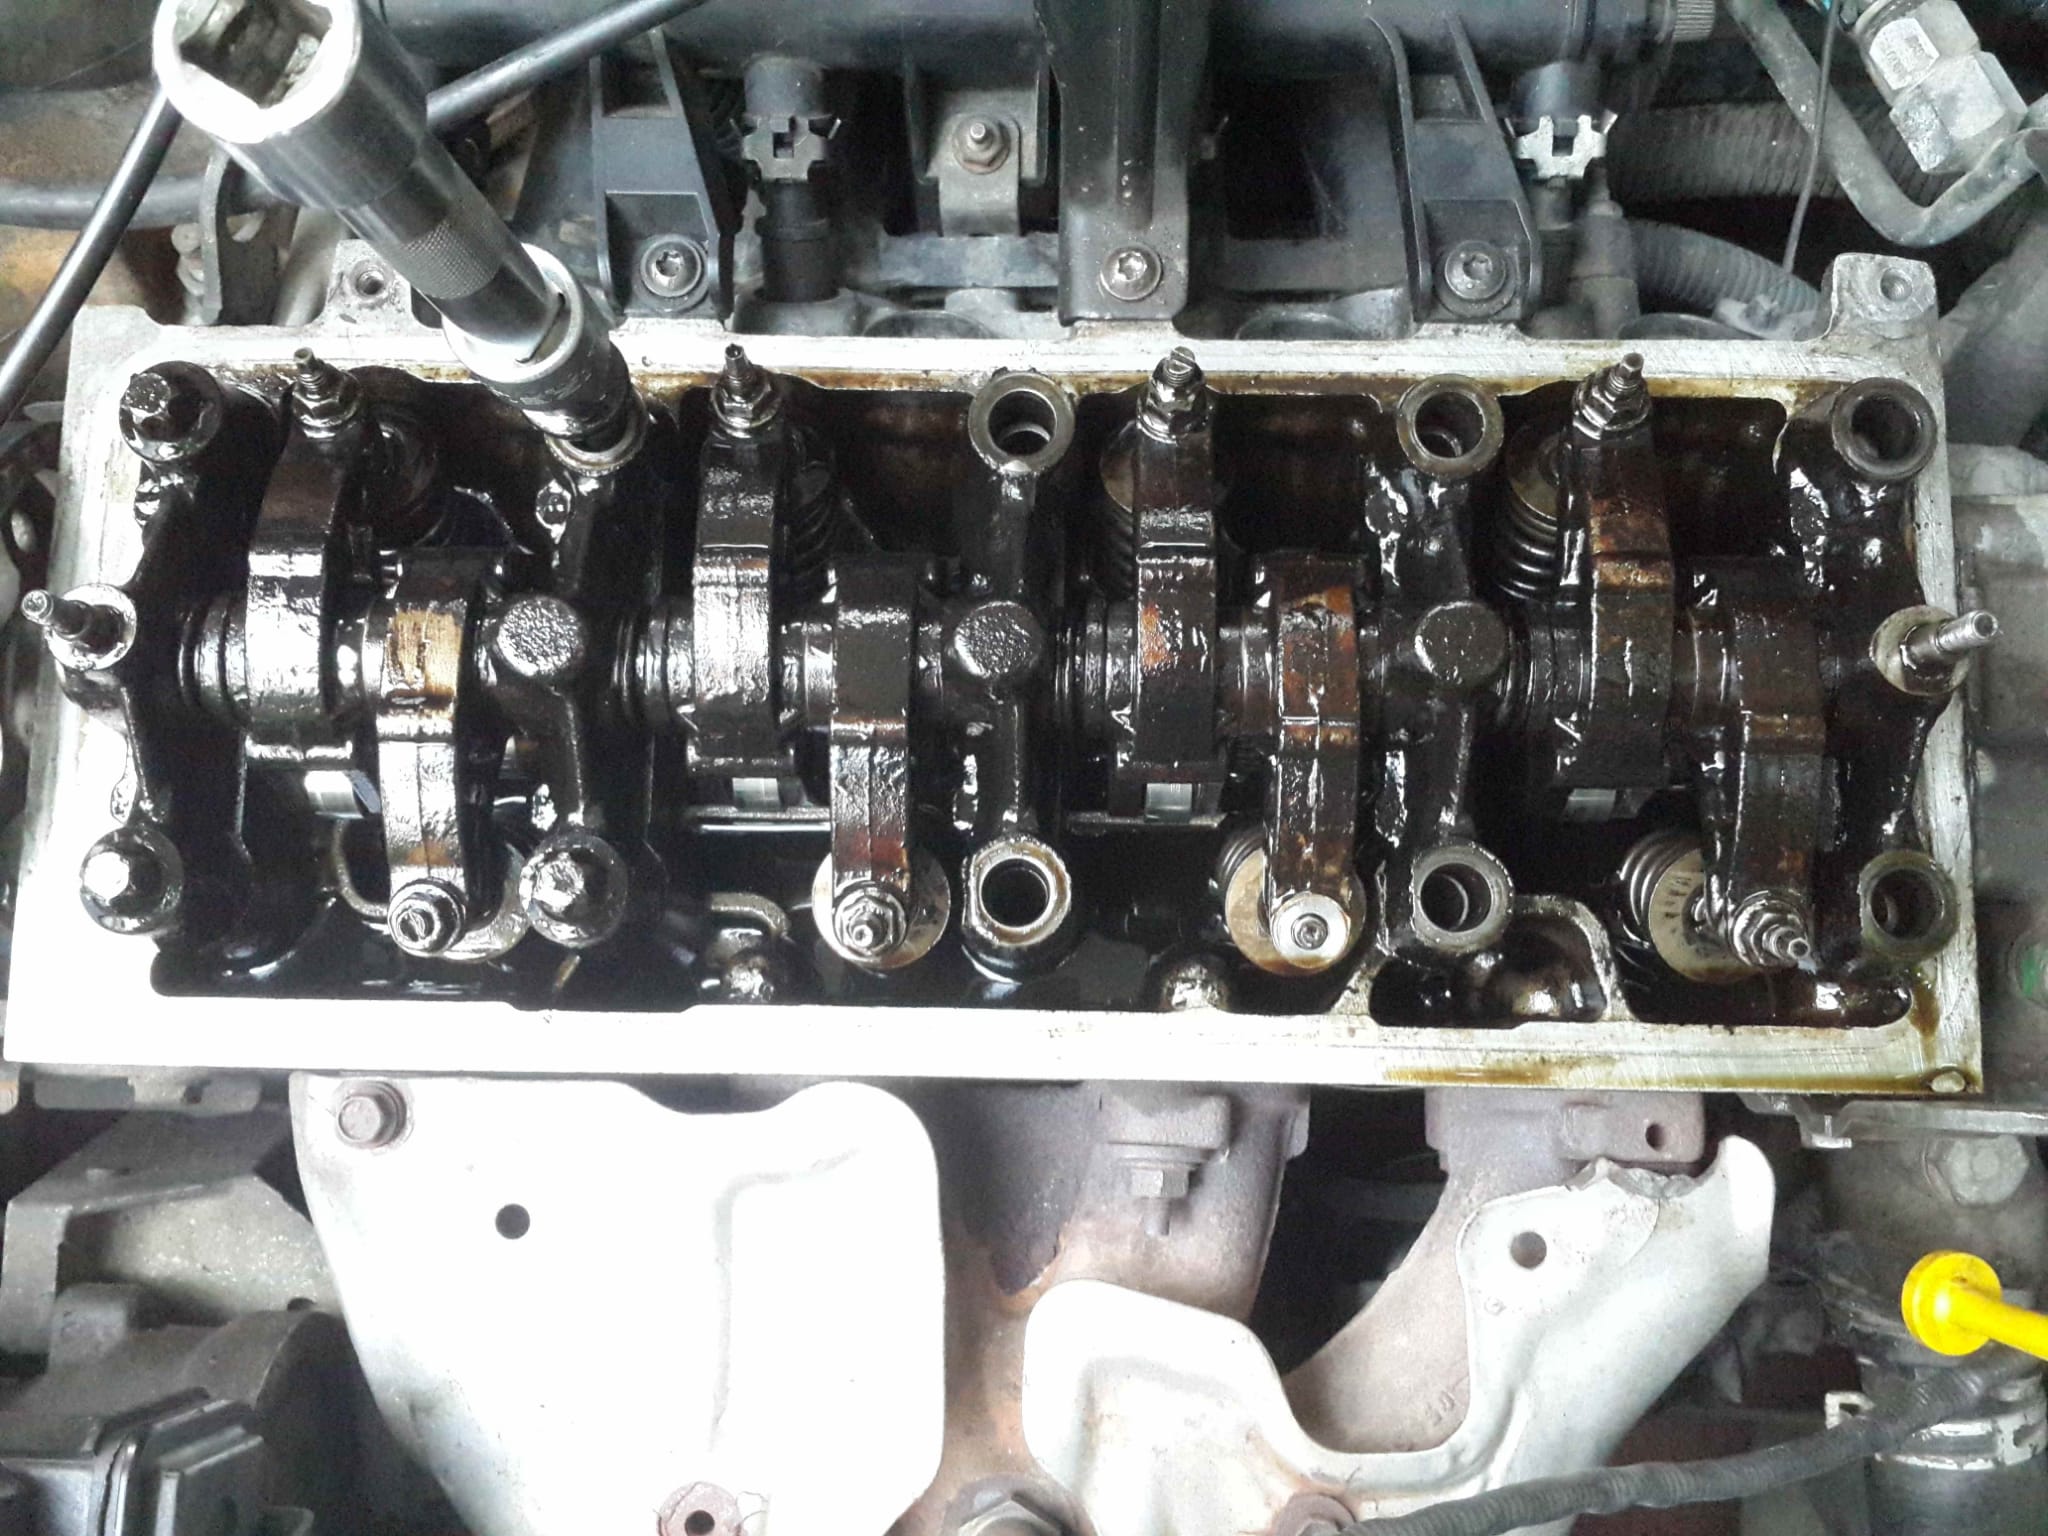 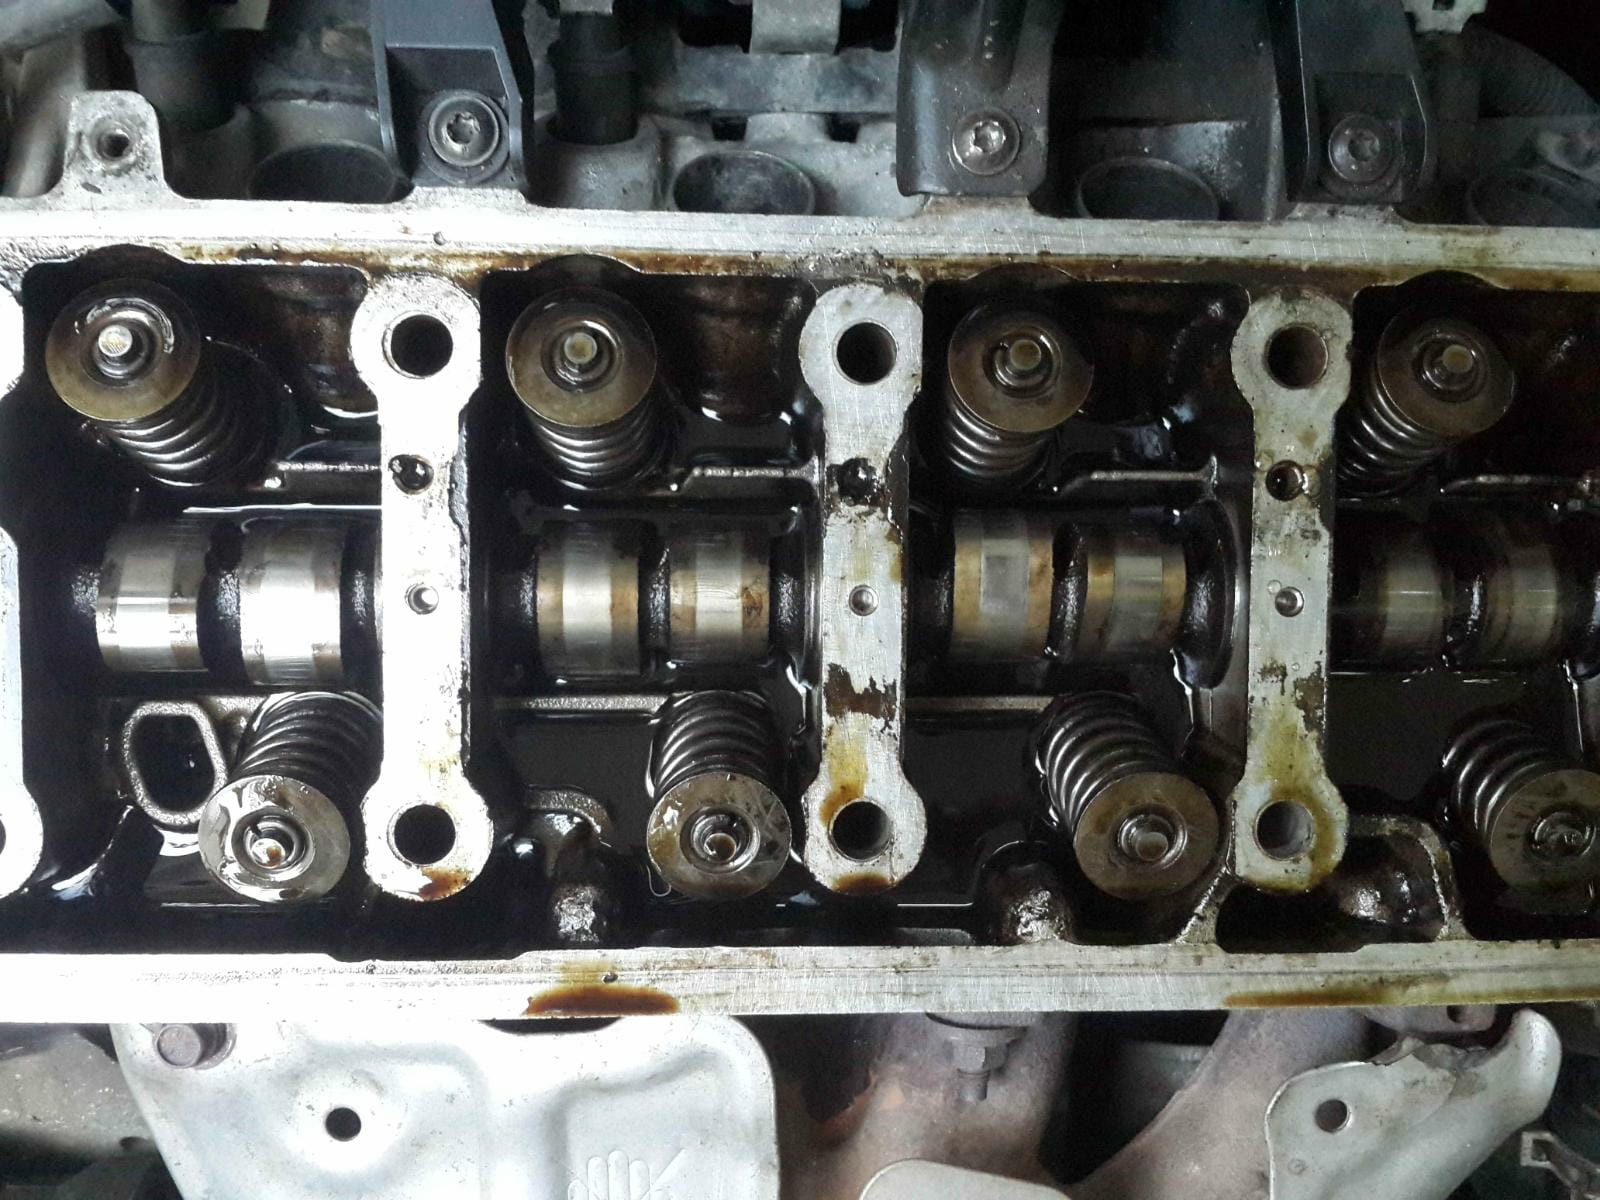 I removed the broken valve adjustment screw from the piano and replaced it with a new one. Then I put the piano back in its place and started tightening the cylinder studs in diagonal order. .First I took the gaps. (Make sure that each cylinder stud is installed in the same position). It is necessary to tighten the cylinder studs with a torque wrench. Supply from a familiar or master and tighten them with 8nm. And I had to re-adjust the valve. After the valves are re-adjusted, we start to assemble the engine. I used a good sandpaper and heat resistant paint because I hate the rusty and bad look of the top cover. The result is in the picture :) < br>  That's all my friends. It was too long :) I couldn't picture some of the stages I was alone, I had a hard time shooting. < br> < br> |
|
| 28.03.2024 12:51 | # 2 |
|
Such a valuable and labor-intensive topic has remained uncommented. Thank you, teacher. It was really very explanatory.
|
|